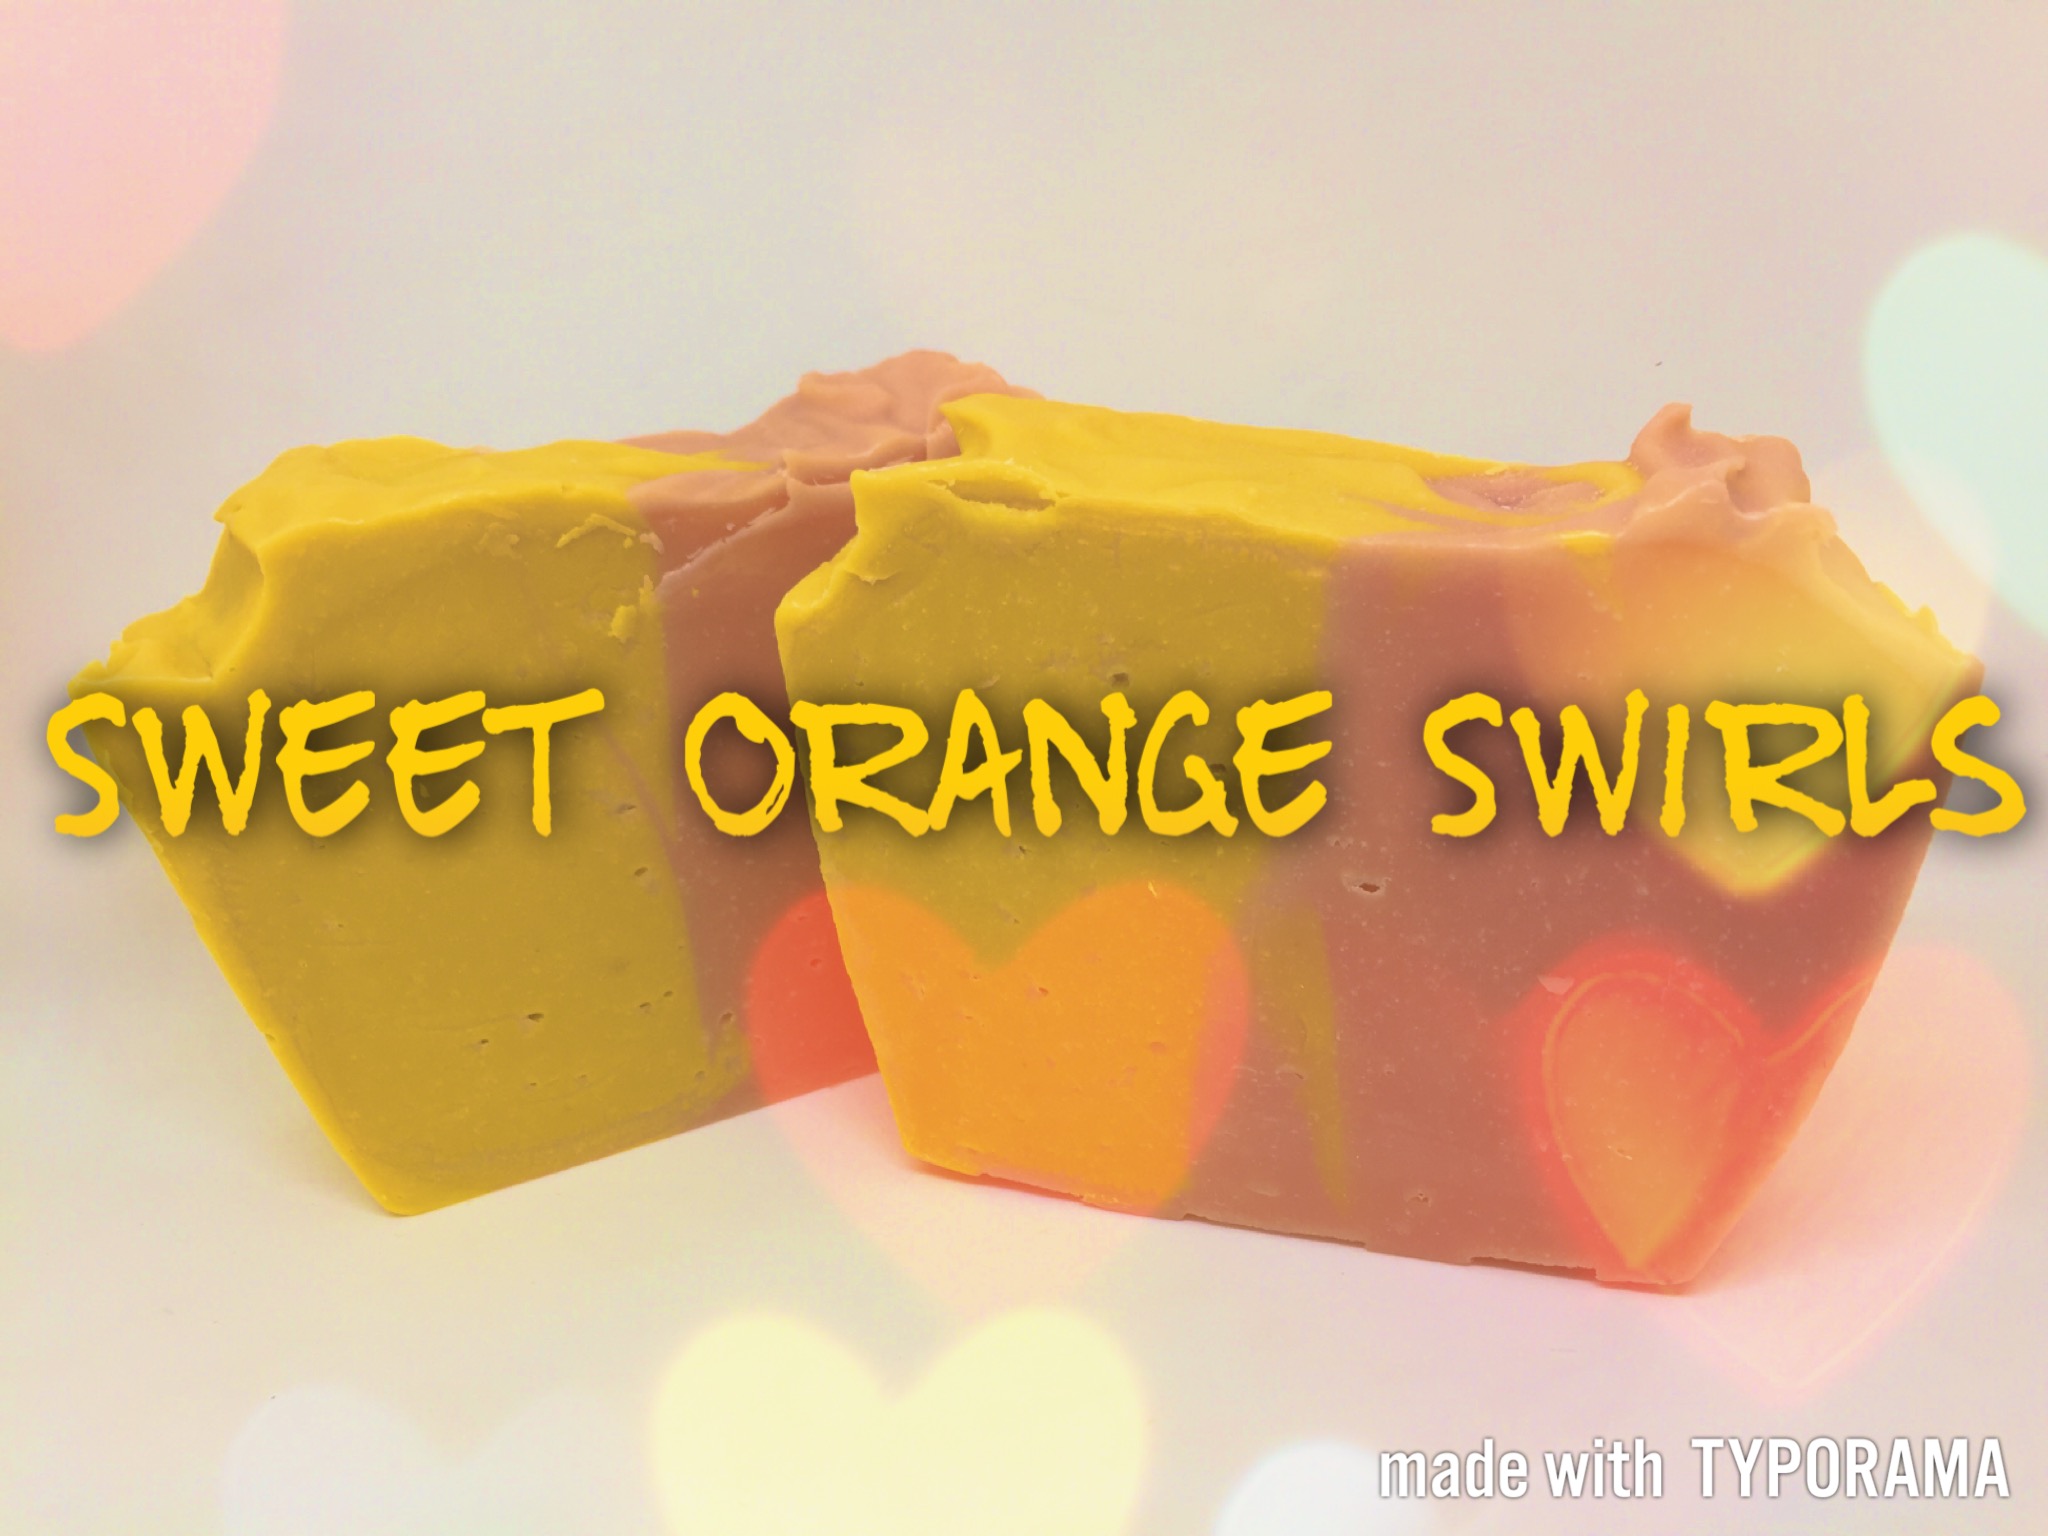

For this soap I used sweet orange fragrance and two light and beautiful colours to create a swirl/block soap. It was meant to be more swirly in appearance but ended up being more of a block colour instead. It still looks and smells amazing though.
Ingredients and equipment:
Safety first, see how to use lye safely.
- 134 g Sodium Hydroxide
- 327 g Water
- 597 g Olive oil
- 168 g Coconut Oil
- 168 g Palm Oil
- 28 g Sweet Orange Essential Oil
- 1 tsp Yellow Mica
- 1 tsp Red Mica
- Silicone mould
- Microwave safe bowls
Method:
- Measure all your ingredients first.
- Melt the oils in one container
- Mix your measured sodium hydroxide into the water and allow to cool.
- While these are cooling, mix your coloured micas with a little bit of light oil to create a colour paste. This makes it easier to add instead of getting dust particles up your nose.
- At this point, while the mixtures are cooling, don’t forget to line your moulds and place the dividers in place. I didn’t use tape to hold my dividers as I had the help from my wonderful assistant (I forced my partner to hold them in place while I poured the soap 🙂

- Make sure both mixtures are cool enough to work with to avoid them seizing from the heat.
- Blend the lye and melted oils with the hand blender until you achieve a light trace.
- Split the mixture into two pots and add the coloured mica paste to each one. By now you should have one bowl with a beautifully dark pink soap mixture and another with a rich mustard yellow colour.

- The next stage is to add the fragrance. To be honest, I had a little trouble with my mango fragrance as it accelerated the process and started to seize so I stuck to just the sweet orange fragrance for this recipe.
- Remember to add your fragrance in slowly, better to have a little fragrance and no seizing than to have a rubbish soap that smells fantastic but is no use to anyone.
- When all the soap has been poured into the mould with the dividers, slowly pull the dividers out. The colours may run a little on top but that is fine.
- Then take your swirling tool (I used a chop stick) and starting at the top pull in a slow sideways motion. Make sure you have the swirling tool right to the bottom to get the full effect.
- I used a side to side pattern but there are many out there to get different effects.
- When finished, spray the top with rubbing alcohol, cover and place somewhere cool and dark to cure.
- Remove from the mould after 48 hours or when the soap is hard enough to release without damaging it. A light trace can take up to a week before it is ready to remove from the mould. Be patient.
- Once removed from the mould cut into pieces and allow to cure for 4-6 weeks.


This was my first batch that I cut sideways. I didn’t like the fact that you couldn’t see the two colours swirled so I tried again. This was my second batch. Needed to swirl more but still beautiful. Smells so good. It kind of reminds me of drumsticks. What do you think?


This will make a lovely present for someone who enjoys a fruity fragrance. A little bit of zesty zing to brighten their senses.