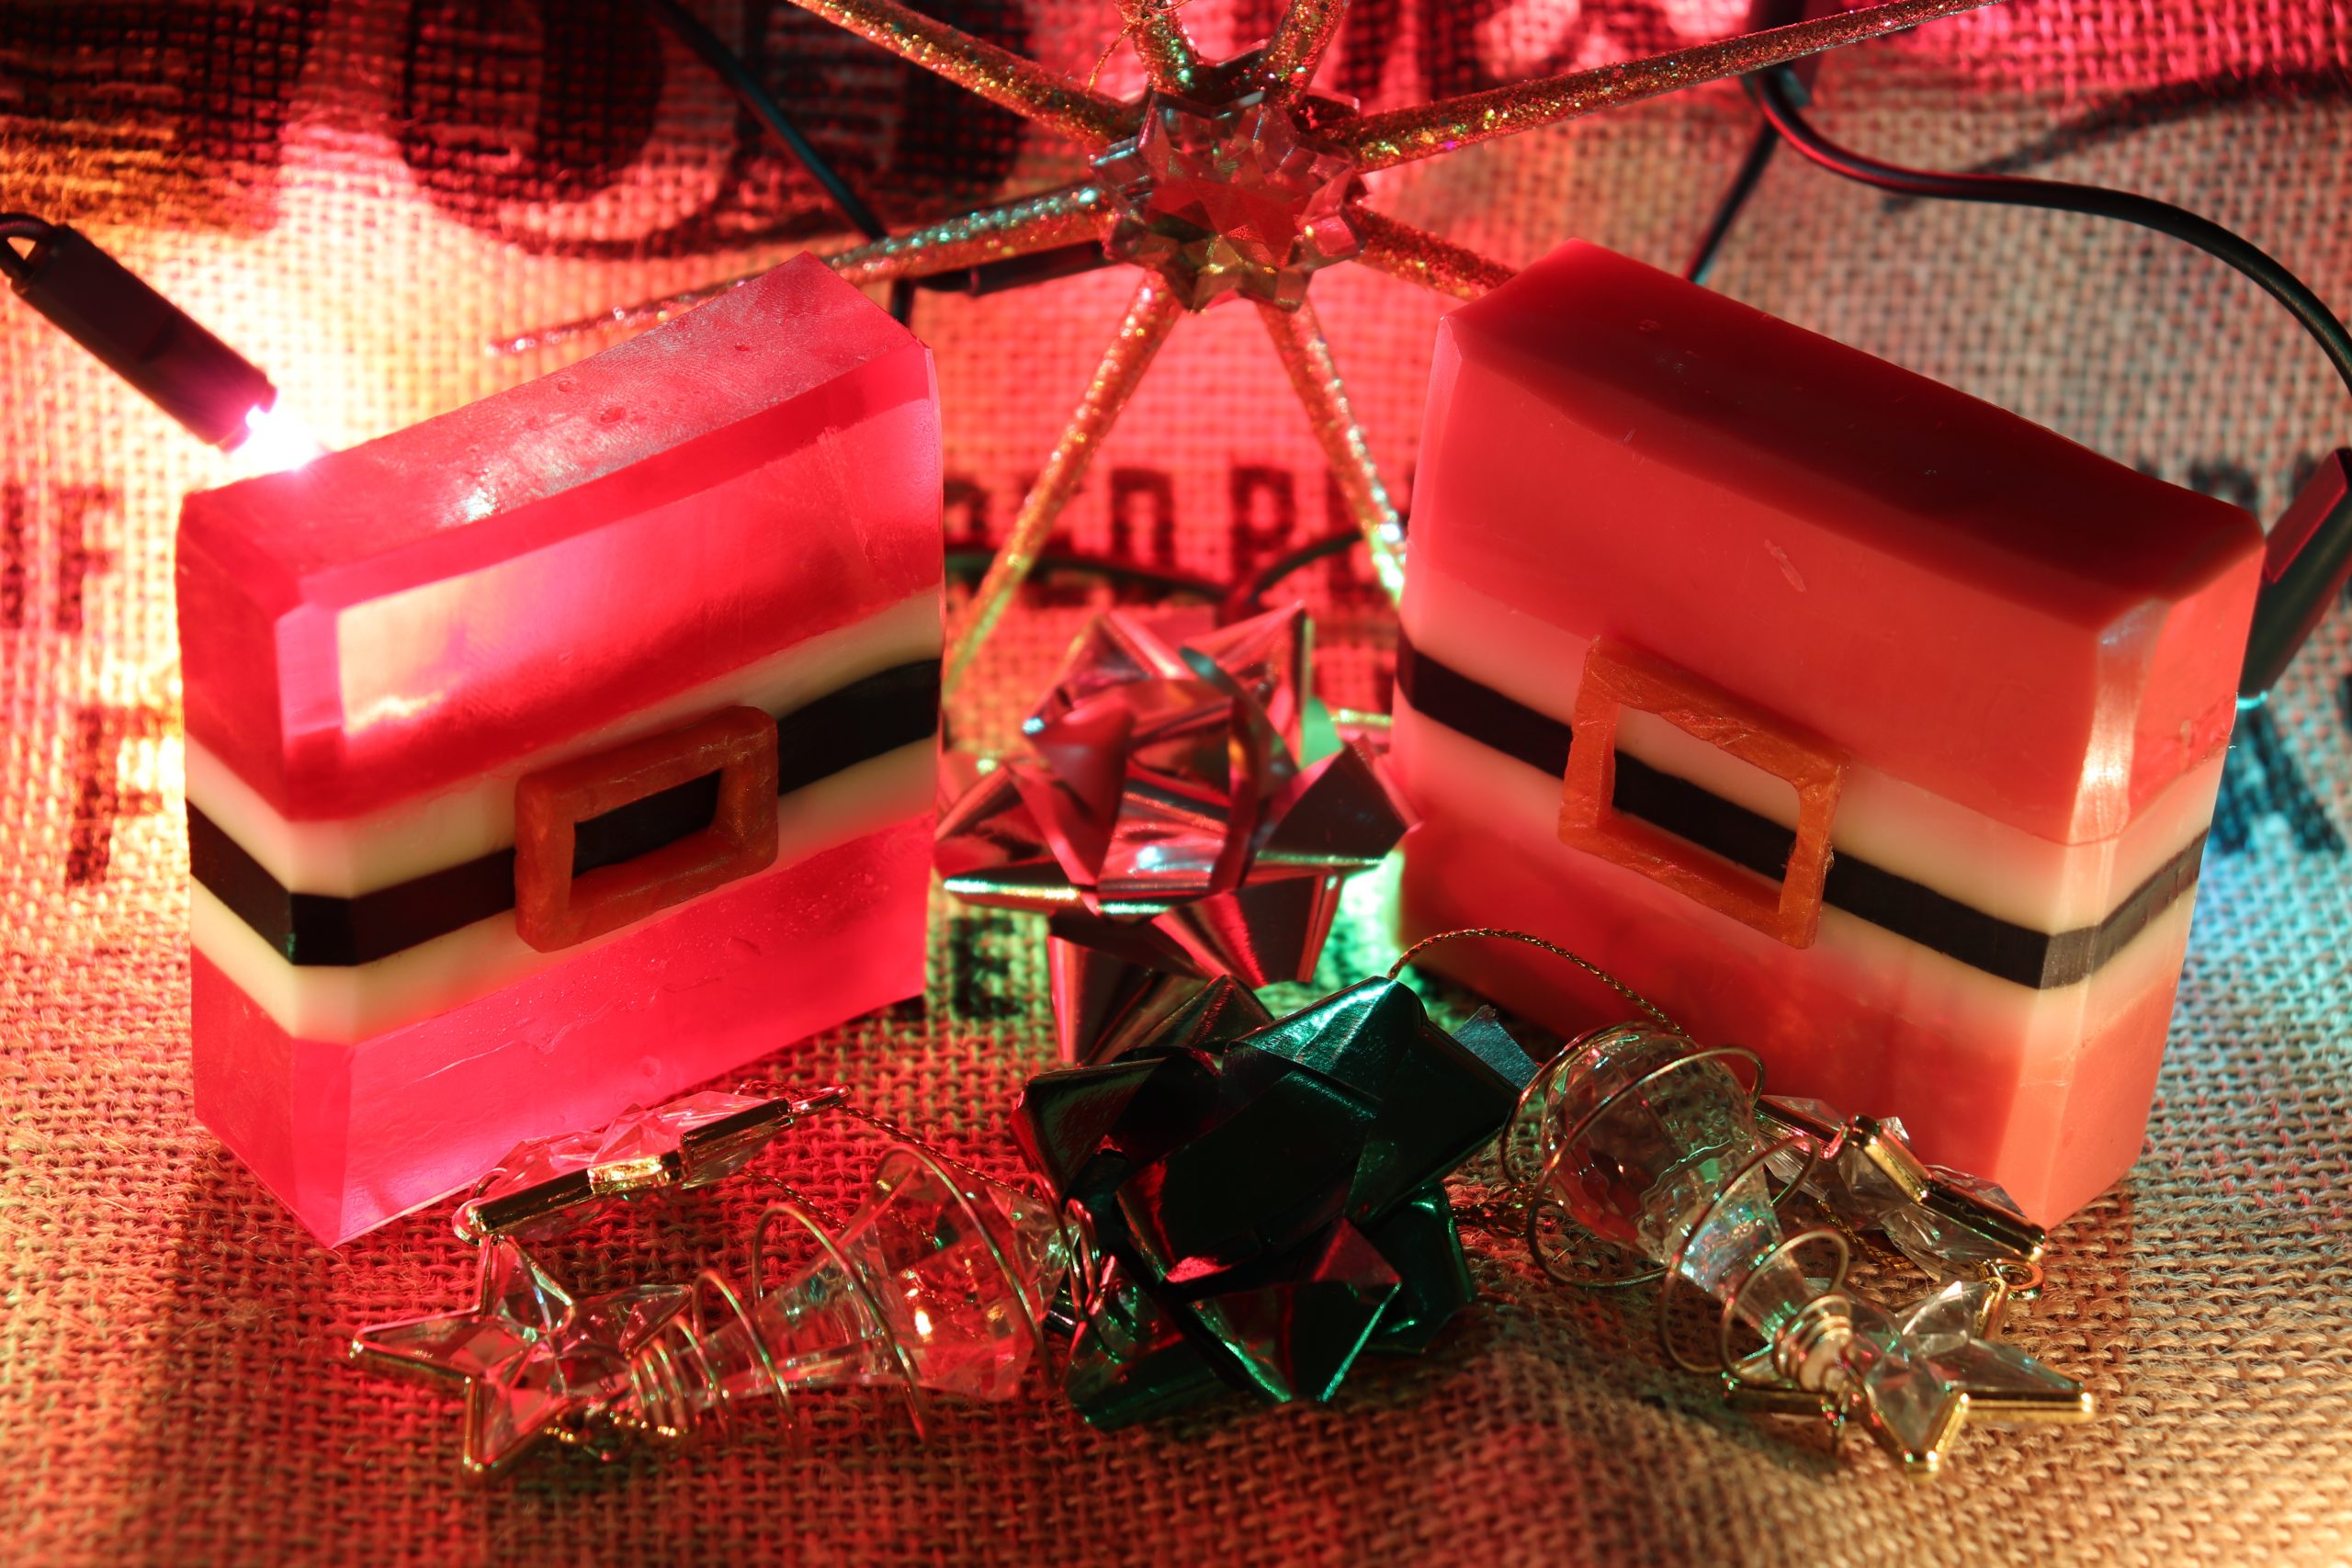
This soap features layers, colours and 3D effects. It’s inspired by Santa’s good old fashioned belt and buckle with reds, whites and golds. The soap ended in disaster, yet I learnt from my mistakes and rectified them. I also had a second attempt with different layers and melt and pour techniques. Some were good, some were not so good.
I started by drawing out a plan for my measurements. I had to get the layers the right thickness and make them even. To do this is I had to divide my final soap amount by three (1400g loaf mould into 3 = 467g). This would then become the top red section, the black and white section and then the lower red section. The middle section I then had to divide by three again (467/3=156g). This was because I wanted the two white fur like layers with the black belt in the middle to be even. Finally I also need to take into account a thin layer of gold for the belt buckle itself.
So, using melt and pour, I measured out the amount of soap I needed for the bottom red layer. I used clear soap for the first attempt in order to achieve a clear red. I was hoping the end product would be able to have light shine through it. I was also aware that combining red liquid soap dye and white soap would cause it to go pink. I used this to my advantage later one.
Method:
1. I melted 467g of clear soap at 15 second intervals in the microwave. I was careful not to over heat it as this can cause the soap to burn and bubble over.
2. To this I added 14g (total of 3% fragrance oil of the entire soap weight) of Satsuma and Cinnamon fragrance oil.
3. I also added 1.5g of red liquid soap dye (CI14720).
4. I poured it into the mould slowly to avoid bubbles forming in the liquid. I then sprayed the top with 99% iso-propyl to set the top.

This is where my first mistake happened. I left the soap to set too long. In my mind I thought that the layers would stick together regardless.
5. Firstly I scored the top of the red layer to help adhere the layers together. I then melted the next section which was 156g of white melt and pour soap. I added 5g of the fragrance oil and added to the mould. I sprayed the 99% iso-propyl on the top.

6. Again I waited a while for the white to set. Then melted 156g of clear. This time I added 4.48g of activated charcoal powder. To this I also added 5g of fragrance oil. I sprayed the 99% iso-propyl on top and waited.

7. After letting the black layer set I added another layer of white with the fragrance oil added.
8. I repeated step 1 to complete the layer process. I sprayed the top for the last time and placed the mould in a cool, dry place for 24 hours.

Whilst waiting for the soap layers to set, I made the thin gold layer of soap that I would then make into golden belt buckles. To do this I melted some clear melt and pour and added 1g of gold mica. I used some cling film and a baking tray (classy) to create a thin but smooth layer, cutting them in to shape at a later time. Using the cling film meant that the soap never came into contact with the baking tray. Later that week I made a lovely pasta bake 🙂

When it came to unmoulding the soap, it came out beautifully. A solid soap with smooth edges was before me. I was so happy and reached into my cupboard to get my soap cutter “Ivory”. She is black and white and reminds me of a grand piano.

This is where the problems started to unfold. The soap was rock solid and I had a really tough time cutting it using Ivory. Normally I use it to cut cold process soap which has the consistency of cold butter. In the past I have used individual silicon moulds to make melt and pour soaps. So, I’m pushing down on this layered soap with safety specs on, fully expecting a wire to ping in my face when this happens.

That’s right, the layers fall straight apart. They didn’t even stick together. I stood there in shock like ‘What the hell, man!’ The white soap layer didn’t even sink in to the scoring on the top of the first red layer.
I’m thinking, what shall I do? I didn’t have enough soap or patience to do the whole thing again. I left it over night and decided to slice it into bars with a knife. Ideas popped into my head. it’s melt and pour, so heat might melt the bottom and i can use that to stick it back together.
Firstly I tried heating with the heat gun I use for shrink wrapping. I ended up just burning my fingers in the process. Next, I thought about using a bain-marie to heat the bottoms of the layers and sticking them together that way. This also didn’t work. Finally, I decided to melt some clear soap and use it as a “glue”. I separated the sections like below and dipped them in the “glue”. Then I used the tiniest elastic bands to hold them together until they had set.


This kind of worked. They remain fragile but so far have held up.
Making the Golden Belt Buckles
On to the golden buckles. I used the time the original soap loaf was setting to make these. Using the thin layer of golden melt and pour from earlier, I simply used a craft knife to cut the sheet into small squares. From each smaller square, I cut out an inner square to make something that resembled a buckle. Simples!

Once my soaps were stuck together and I was happy they weren’t going to completely fall apart, I trimmed the edges and neatened them up. I used the “glue” method combined with the heat gun to adhere the buckles to the front of my soaps. This was very fragile work as the buckles were very thin soap.
The Final Product
So here is the final product. I re-did the whole recipe but learnt from my mistakes and added the layers sooner rather than later. This time round I used white melt and pour for the red layers. This created a pink layer which in the end was lighter than I hoped but I used it to my advantage. I called these ‘Mrs Santa Belt’s’ instead.
I did make another small mistake in the second batch but it’s all just a learning curve. I added the layers earlier than I had before and noticed after cutting the soap that some layers had melted into each other. Who knew adding hot melt and pour to set melt and pour may MELT the soaps together. If I wasn’t trying to get clean layers I would have thought it looked pretty cool.

So let me know what you think. All comments are welcome. I look forward to hearing about your lessons learnt or how it all went perfectly.


