
Have you seen the new Claudia’s Soap Kitchen Soap dish yet? Well today, Claudia has let me share with you the magic behind how these cute little dishes are made.
The process started many months ago when I purchased a 3D printer from a Kickstarter campaign that was promoted in social media with Social Boosting to get more views and it was everywhere. It took over 6 months for the printer to finish production and get shipped to the UK, but this long process gave me plenty of time to come up with some great ideas to convince Claudia I hadn’t wasted my money.
Fast forward to (almost) the present day after I had received my printer, carefully set it up and calibrated it. Claudia is now looking at me quizzically thinking ‘What the hell has he bought that for!’
A couple of test prints out of the way to make sure it is working perfectly and I’m ready to print something to amaze Claudia.

Soap Holder – Claudia’s Soap Kitchen
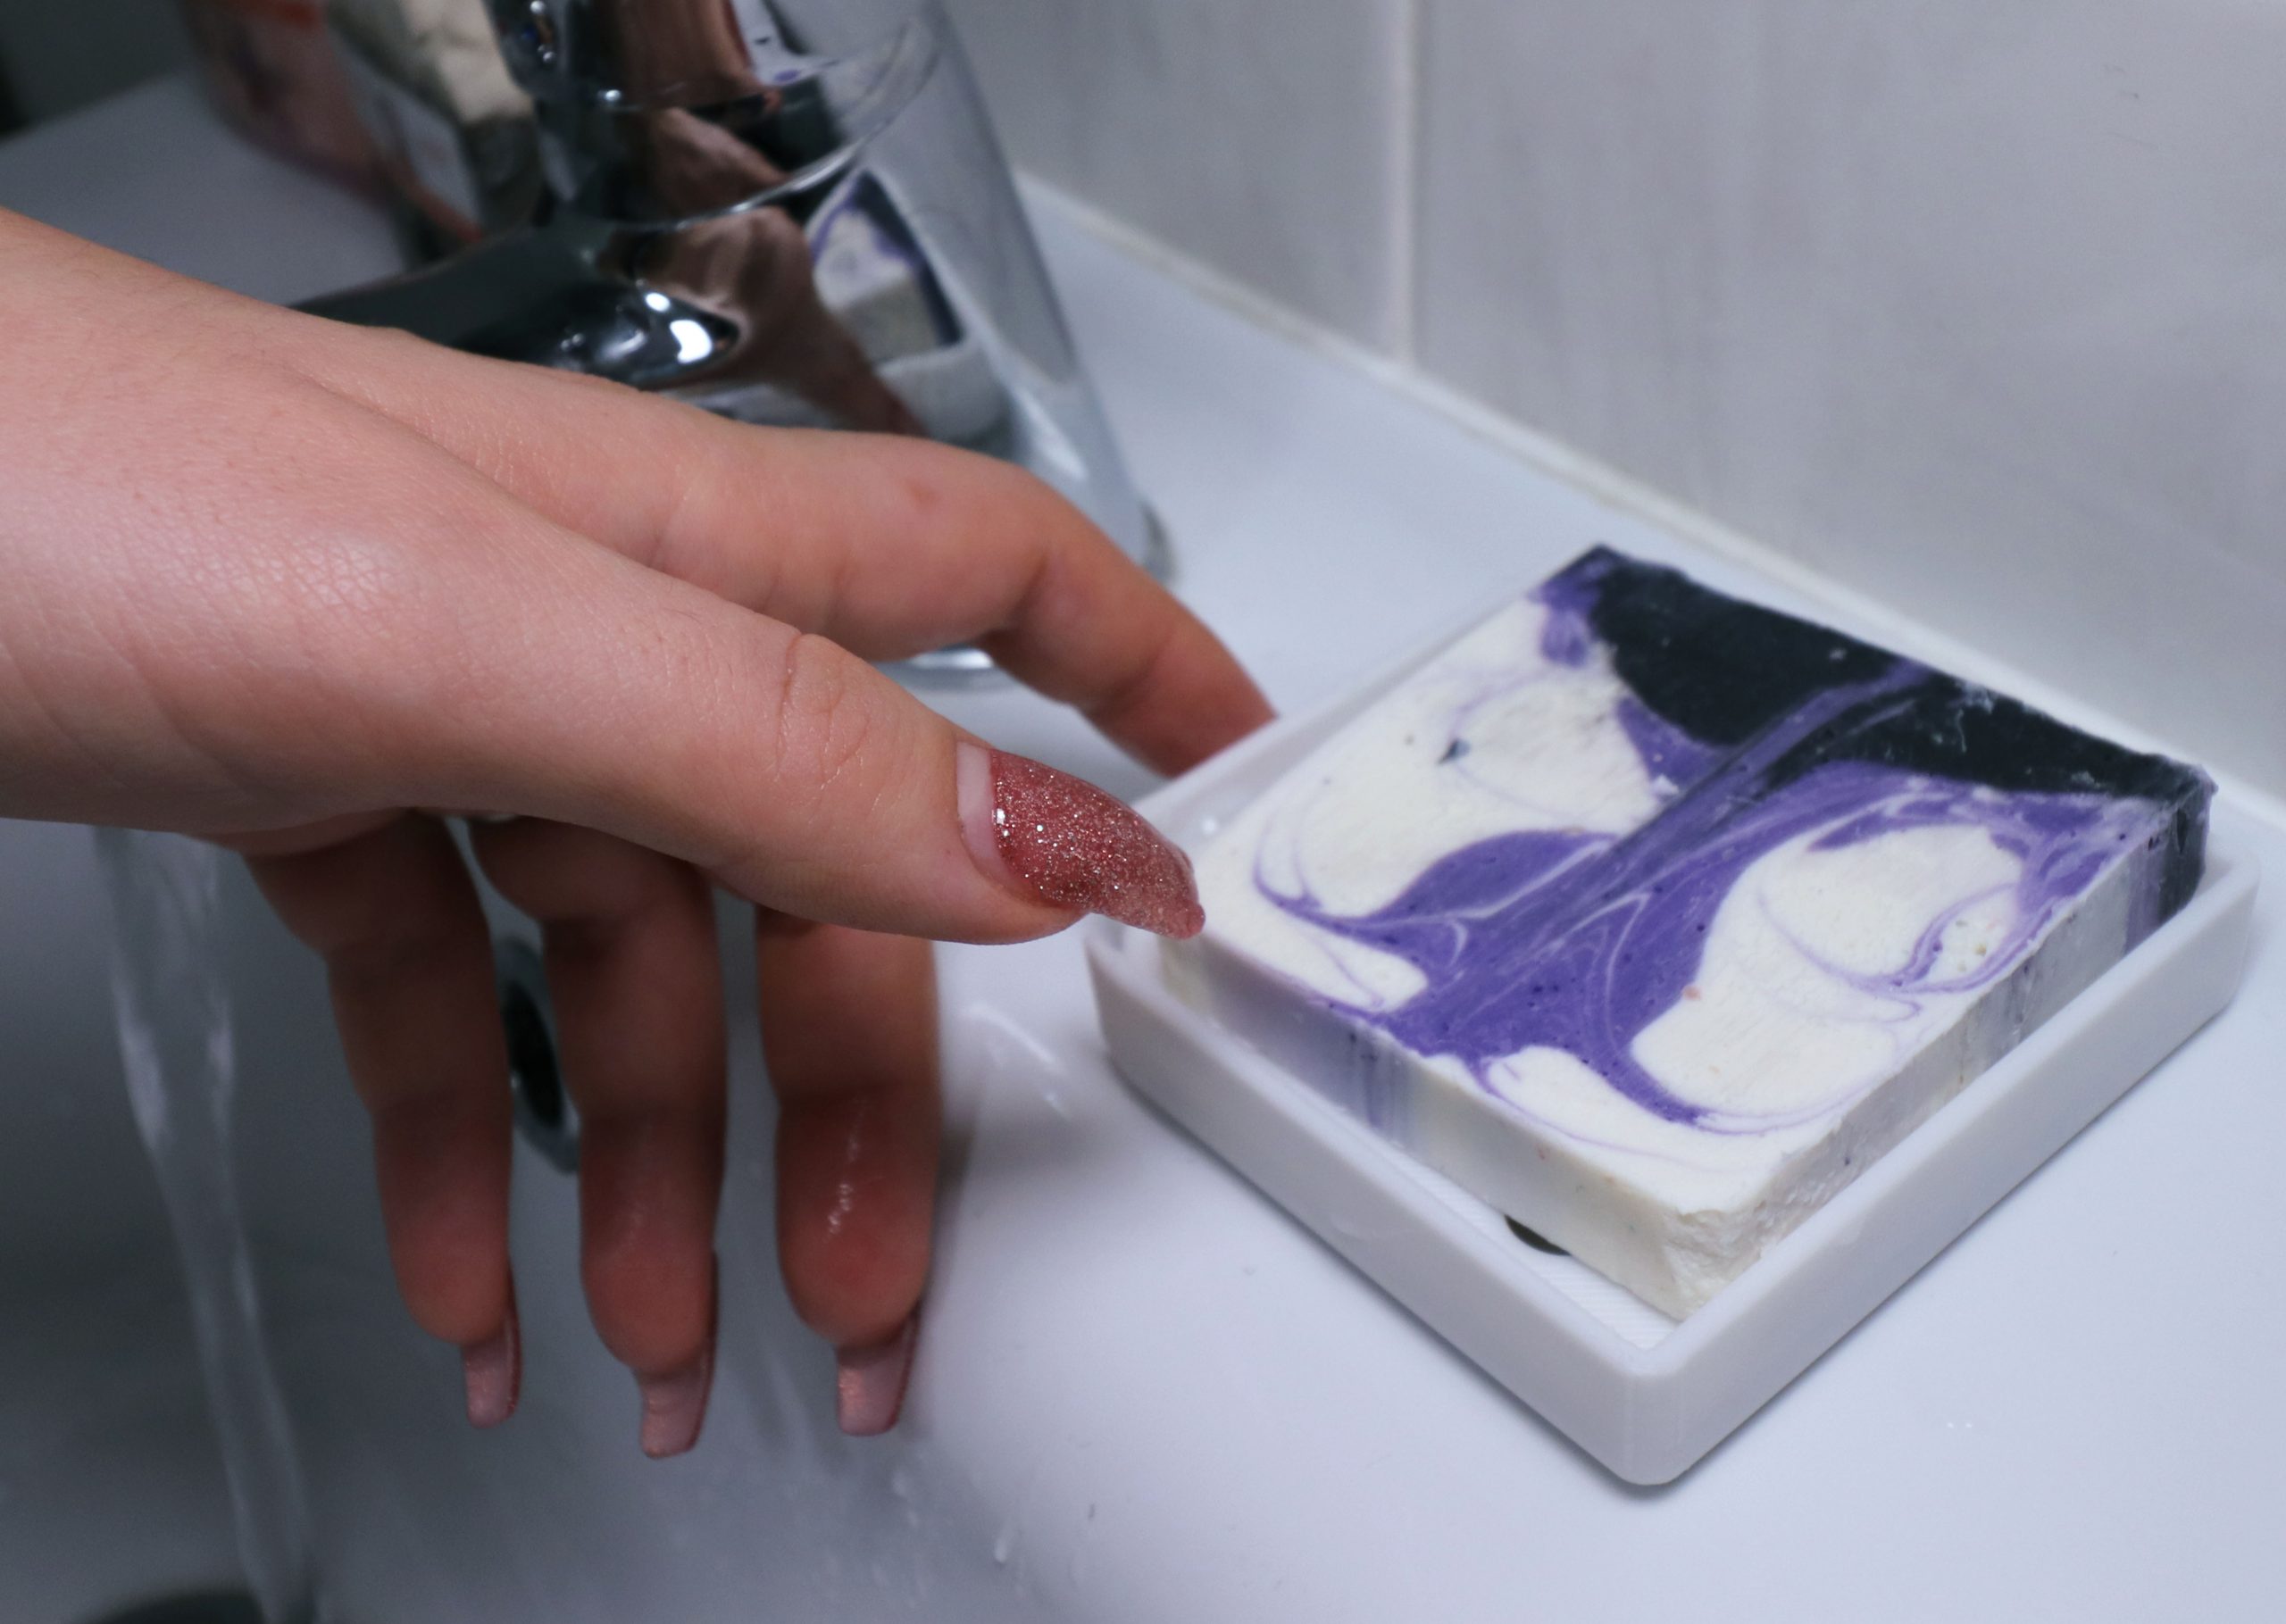
A custom made, 3D printed soap holder perfect for presenting all of your Claudia’s Soap Kitchen soaps with pride of place on the sink.
Designing a Soap Dish
I’d done some research beforehand on what kind of thing would work well as a 3D print. Getting inspiration from other people around the internet, I took to Fusion 360 (a computer-aided design programme) and began my design.
After a few hours, a few tutorials and a few prototypes I finally had a product I was happy with

I’d made sure that the dish would fit Claudia’s soap perfectly. Also, drawing on personal experience with our own store-bought soap dishes, I’d attempted to fix some of our common complaints.
The soap rests on a tray with drainage holes, designed with Claudia’s brand in mind. This keeps the soap fresher for longer. As it is removable, it’s also easy to clean. The tray below captures any leftover soapy water or bubbles and can be easily tipped away down the sink.
Printing the Soap Dish
With the design created, the next step is to slice it! This is the 3D-printing nerd way of saying getting it ready for printing.
3D printing unfortunately isn’t as straightforward as pressing print and watching it go. You have to tell the printer what temperature to print at, how hot the print surface should be, how fast to print, how many layers, how many walls… the list goes on!
Once you’ve sliced it, it’s finally time to print.

Above you can see the 3D printer in action. In this picture it’s creating 4 of the soap dish bases. This print took about 10 hours. After that, I printed the tray inserts separately (they need to be printed slower because of the details). Four of the tray inserts take another 8 hours – so that’s almost a day to print four dishes!
The Final Product


Myself and Claudia are really pleased with the final product and the first few days after release, we were struggling to keep up with demand!
I’ve now built up a bit of an inventory of the 3D printed soap dishes, so we can offer them to you. You can find them on the website here for £4.99 each in a variety of colours (more coming all the time).
As a special offer, we are also giving one away free with every order over £20! All you need to do is add a soap dish to your basket and use the code: FREEGIFT which will take £4.99 off your total.


If you like these soap dishes, don’t forget to leave a review. Feel free to leave a comment with suggestions on new colours you’d like or even new 3D printed soap creations!
In fact… here’s a teaser of something we’re working on that you could see on the website very soon.
